


A Step-by-Step Guide to Installing Air Suspension Kits on Trucks
Air suspension kits provide superior load management, height adjustment, and ride quality. You will learn how to install one yourself from this guide, including how to select the appropriate kit and adjust the system. We'll go over the necessary tools, safety precautions, and detailed instructions. It is possible to improve the look and performance of your truck with a little work and attention to detail.

Step 1: Preparing for Air Suspension Installation
An effective installation of air suspension requires careful planning. To finish the task safely and effectively, you'll need the appropriate area, tools, and equipment.
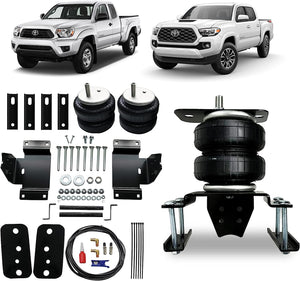
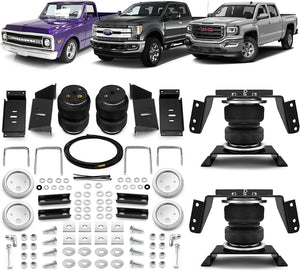
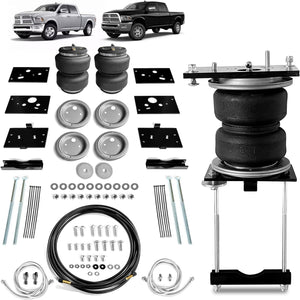
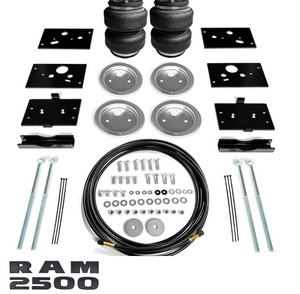
Choosing Your Air Suspension Kit
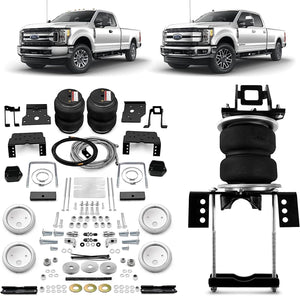
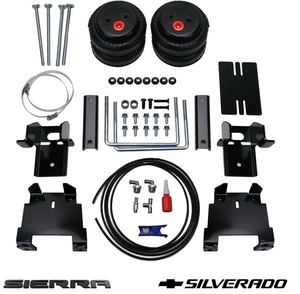
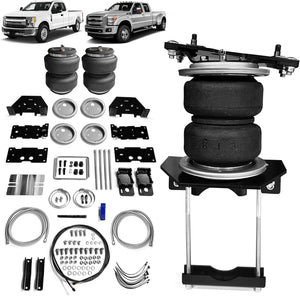
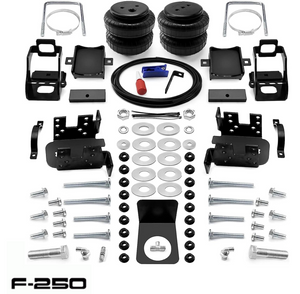
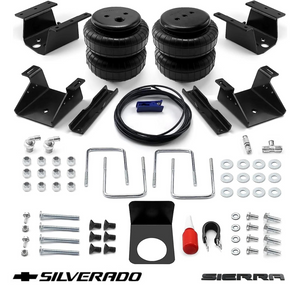
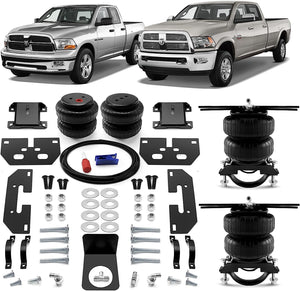
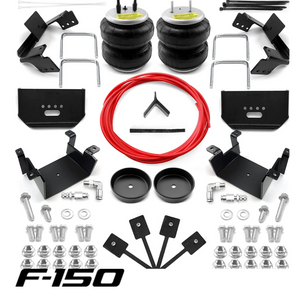
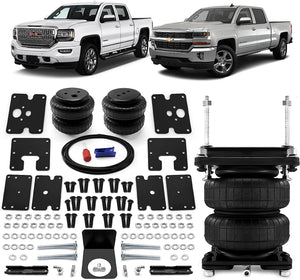
Verify the weight rating and normal loads of your truck. Systems must be stronger for heavier trucks. Verify that the kit fits the year, manufacture, and model of your truck. Truck-specific kits are made by some firms and are simpler to install.
Tools Required for Installation
Your toolkit will include both common and specialized items for this job.
Basic tools:
- Socket sets, wrenches, screwdrivers, pliers
- Torque wrench
- Jack and jack stands
Special tools:
- Air line cutter
- Thread sealant
- Electrical crimping tool
- Drill (for mounting parts)
Setting Up Your Work Area
A smooth installation process requires a safe and orderly workstation.
Look for a spotlessly bright workspace. Although a garage is ideal, any covered space will do. Verify that you have adequate space to maneuver around your truck. To securely hold up your truck, use sturdy jack stands. Put on gloves and safety glasses. Maintain a fire extinguisher close by. Prior to servicing any electrical components, disconnect the truck's battery. Open windows or doors to let in fresh air if you're inside.
Step 2: Dismantling the Stock Suspension
The first practical step in installing the new suspension on your truck is to remove the factory suspension. To prevent harming other components, meticulous labor is needed at this step.
1. Elevating the Truck and Removing Wheels
Using a hydraulic jack, raise your truck and place it on jack supports for stability. To gain access to the suspension parts, remove the wheels. For added safety, tuck the wheels beneath the vehicle frame.
2. Removing OEM Suspension Parts
Take off the shock absorbers first. The upper and lower mounting bolts should be loosened and removed. After that, gradually lower the axle to relieve the springs' stress. Take out the springs, being mindful of any insulators or brackets that need to be saved for later use.

3. Dealing with Stubborn Parts
Seized bolts and rust are frequent problems. For recalcitrant fasteners, apply penetrating oil and let it soak. If you require more leverage, use a breaking bar. If any components are badly corroded, you may have to cut them off. Safety should always come first when handling stuck components.
Step 3: Installing Air Suspension Components
It will take dexterity and focus to install the new air suspension parts. The lifetime and functionality of the system depend heavily on each component.
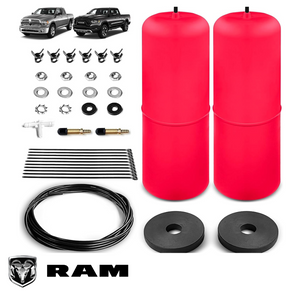
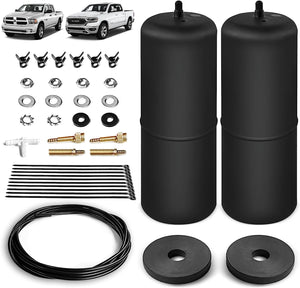
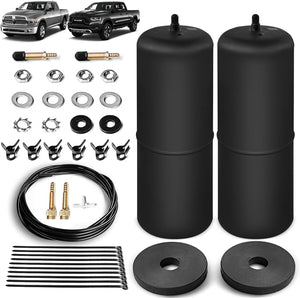
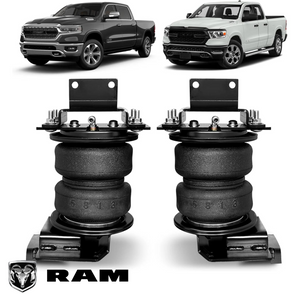
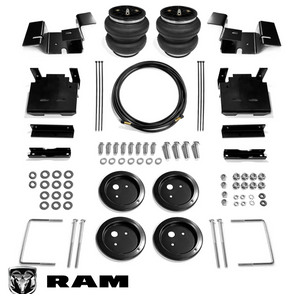
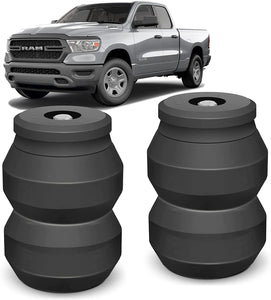
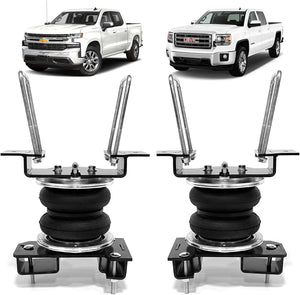
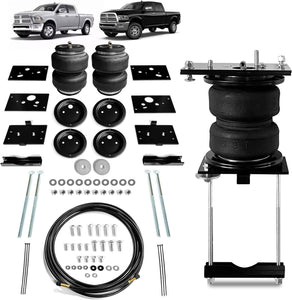
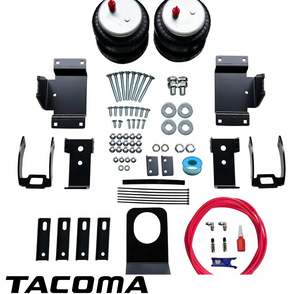
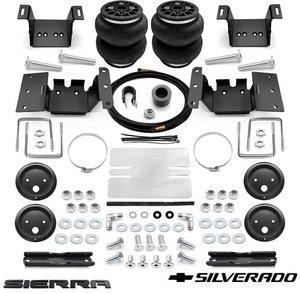
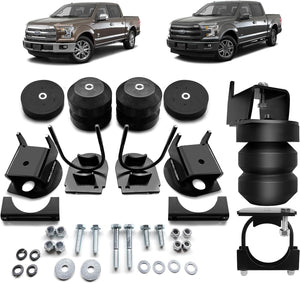
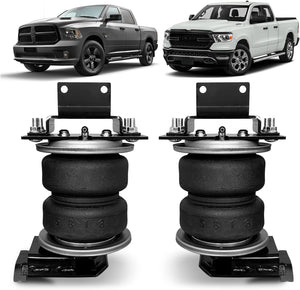
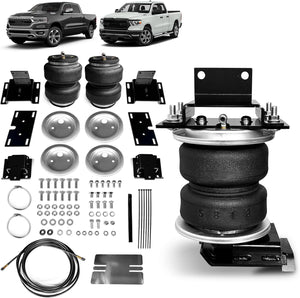
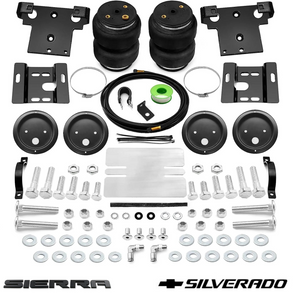
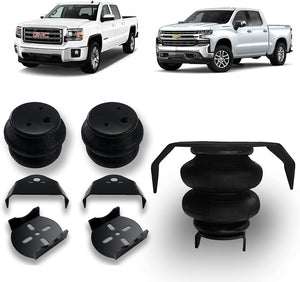
1. Installing the Airbags
Place the airbags in the same location as the original springs. Make sure they are correctly positioned to offer balanced support. To ensure the airbags are securely fastened, use the included brackets and hardware. Adjust all bolts to the torque recommended by the manufacturer.
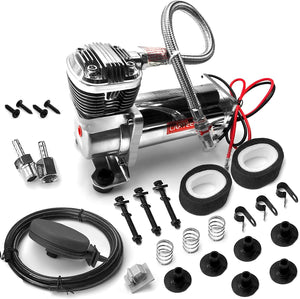
2. Mounting the Compressor and Tank
The compressor and air tank should be placed in a safe area; this is usually the truck's bed or frame. Take into account accessibility for upkeep as well as defense against dampness and road debris. Vibration-dampening hardware should be used to firmly mount these parts in order to minimize noise and guard against damage from road vibrations.
3. Setting Up the Air Line Network
Carefully consider your air line routing to steer clear of moving parts and heat sources. To avoid damaging lines when going through metal surfaces, use grommets. To ensure correct sealing, make clean, straight incisions on the air lines. To ensure a tight connection, gently tug on the lines after pressing them firmly into the fittings until they are seated. To stop air leaks, apply thread sealant to all threaded fittings.
Step 4: Integrating the Electronic Management System
Your air suspension is controlled by electrical components, which guarantee optimal performance and enable customization. The functioning and dependability of the system depend on careful installation.
1. Wiring the Electrical System
Using the proper gauge wire for the required power, connect the system to the battery of your truck. To safeguard the circuit, place a fuse next to the battery. Make sure every ground connection is tight and clean, preferably to the truck's frame's bare metal. Relays can be used to manage high-current components, which will relieve pressure on switches and control units.
2. Installing the Control Unit and Sensors
Install the control device somewhere easy to get to, usually underneath the dashboard. Make sure the display is accessible and clearly visible so you can easily modify it while driving. Install height sensors on the truck's corners and connect them to the frame and suspension parts. For the first programming and calibration, according to the manufacturer's instructions. As appropriate, adjust the additional custom parameters and your chosen ride heights.
Step 5: Testing and Ensuring Quality
After installation, extensive testing is required to verify system integrity and functionality. This process helps prevent future issues and ensures that your air suspension operates as intended.
1. Checking for Leaks and Pressure Integrity
Set the system's pressure to the maximum recommended amount. Use soapy water to inspect all fittings and connections, looking for bubbles that could indicate leaks. Areas where air lines connect to threaded connections and fittings require extra care. By deflating the system, tightening connections, or replacing broken parts as needed, leaks should be located and corrected. Test again until no leaks are discovered.
2. Conducting a Final System Inspection
Check that everything is installed correctly by going through each item on a thorough checklist. Check to make sure all electrical connections are secure and have the proper insulation. Ensure that the mounting hardware has been correctly torque-tightened. Ensure that air lines are placed safely, away from heat sources and moving equipment. Test the control unit to make sure everything is working as it should. Adjust the pressure and riding height settings as necessary.
Step 6: Road Testing and Fine-Tuning Your Air Suspension
Road testing is essential to ensuring your air suspension operates correctly in actual conditions after installation and preliminary checks. This procedure enables last-minute modifications and aids in identifying any problems.

1. Performing the Initial Test Drive
Begin by driving slowly in a secure location, such an empty parking lot. Be mindful of any odd vibrations or noises. Increase speed gradually and test the suspension on various terrains. Examine the truck's handling of turns and bumps. Because the new suspension may have an impact on brake performance, make sure the braking system is operating normally.
2. Adjusting for Optimal Performance
Adjust the riding height to suit various load scenarios. When testing the suspension, start with an empty truck and evaluate how it handles before adding typical loads. To suit different types of roads, from smooth highways to rugged terrain, modify the air pressure and ride height settings. Make notes about how you performed in various situations so you can direct your adjustments. Keep in mind that it can need a few test drives and adjustments to get the perfect settings.
How to Maintain and Care for Your Air Suspension
Frequent maintenance helps avoid expensive repairs and maintains your air suspension system operating as intended.
1. Setting Up Regular Checks
Check the condition of your air suspension system every six months or 10,000 miles, whichever comes first. Keep an eye out for worn parts, loose fittings, and air leaks. Verify and correct the air pressure in the bags as necessary. Inspect every electrical connection for rust or impairment. When cleaning and lubricating the compressor, follow the manufacturer's recommendations.
2. Spotting Problems Early
Keep an eye out for warning indicators like as uneven ride height, delayed inflation, or strange noises. Your truck probably has an air leak if it sags while parked overnight. A failing compressor or leaks may be the cause of the compressor running more frequently than usual. Unusual sounds made when turning or navigating bumps could indicate damaged mounts or bushings.
Keep your air suspension system clean to avoid problems, particularly in places where there is mud or road salt. Regularly replace air filters. Deal with minor issues as soon as possible to prevent larger, more costly repairs down the road. If you're not comfortable doing maintenance on your own, have your system inspected by a professional once a year.
Install Your Own Air Suspension Kit Properly!
A truck air suspension system installation can provide better load management, adjustable height, and a more comfortable ride. It's a worthwhile undertaking. You can completely change the look and performance of your truck by carefully selecting the appropriate kit, setting up your workspace, and adhering to the detailed instructions. Maintaining your air suspension system regularly will guarantee that it keeps operating at its best. You'll experience a smoother, more adaptable ride that highlights your mechanical prowess and expands the potential of your truck with commitment and attention to detail. Take on this thrilling task and enjoy the fulfillment of improving your truck on your own.


Leave a comment